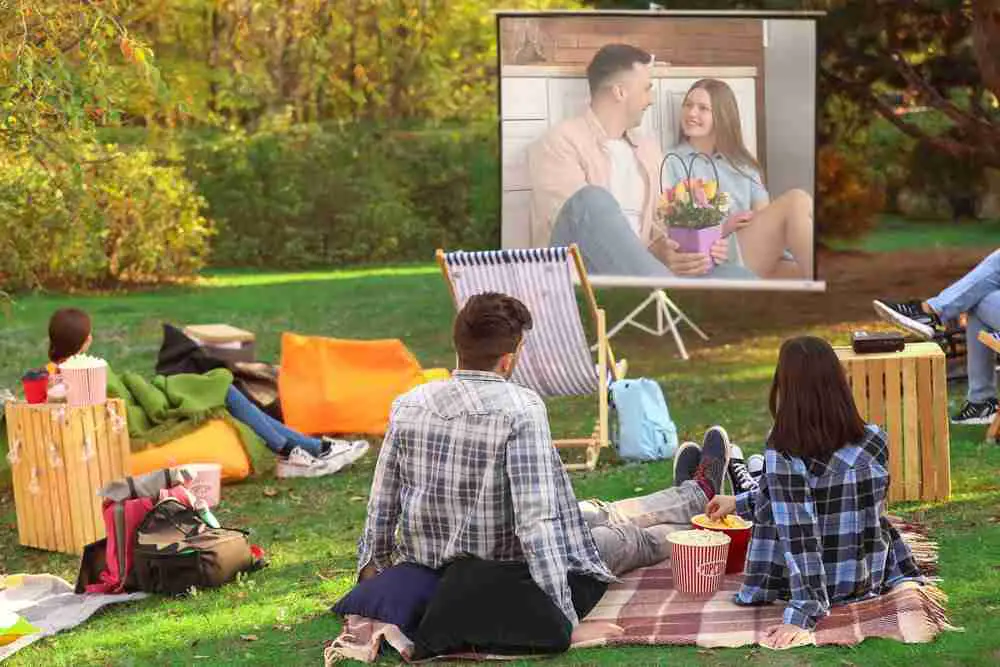
If you have an outdoor daytime projector, you are in for a treat. We have handy tips on how to use them, especially in the summer months, to enjoy the warm outdoors with family and friends while having the best viewing experience – without having to wait for a movie night.
If you don’t have one, you can check out the BenQ HT2150ST. With this backyard projector, you can enjoy multimedia content and video games outside during the day.
4 Handy Tips to Use an Outdoor Daytime Projector During Summer Months
Outdoor projection during the day can be tricky, especially when there’s a lot of ambient light. These four handy tips are guaranteed to help you get the best daytime use out of your outdoor projectors and screens so that you and your guests can have a great time and create beautiful memories together, even on the brightest summer days.
1. Setting Up Your Outdoor Projector Screen
For the best viewing experience in your outdoor home theater during the day, your outdoor projector screen setup is essential. You will need to invest in a good one for the best experience. An excellent outdoor projector screen can offset the interference caused by the bright light during the day. It should be plain and white with a smooth texture.
Assuming you already have an excellent backyard projector screen, the next thing is to position it, as this will determine the sitting arrangements and the rest of your setup.
Since this event will happen during daylight, the best place to put your outdoor projector screen is beneath a shade or in a shady area. You need to stay away from direct sunlight to get the best image quality, and shade reduces the ambient lighting that would otherwise reflect directly off your projector screen and into your eyes. Putting the screen in the shade allows for clearer images and a better daylight viewing experience.
If you don’t have a good outdoor projector screen or cannot afford one, all hope is not lost; you could use a DIY outdoor projector screen. Another option is to use a wall as the projection surface, but it must be specially prepared to get the best image quality.
2. Setting Up the Aspect Ratio
The aspect ratio is the ratio of the image’s width to its height. It is not the same as screen size, though the screen size determines the projection surface, so it relates to the aspect ratio somewhat.
When you look at the settings of your outdoor movie projector, you will see two numbers separated by a colon, such as 4:3, 16:9, or 21:9. This is the aspect ratio.
The aspect ratio determines the size of the video or picture on the projector screen. If you select the 16:9 aspect ratio, the image will resize to become 16 units wide and 9 units high.
You must select the aspect ratio that best suits your projector screen. Since most modern projector screens and movies are now produced at a 16:9 aspect ratio, setting your outdoor daytime projector to this setting is a safe bet. But if you are watching a classic or a particular type of movie produced at a 4:3 aspect ratio, you would have to set your outdoor daytime projector to a 4:3 aspect ratio.
Using a different aspect ratio than the movie or projector screen is configured to produces a letterbox effect (also called a pillar-box effect). This effect happens when the image only covers a part of the projector screen, leaving empty borders on either side.
3. Adjusting the Brightness Control
You can find the brightness option in settings. It works by decreasing or increasing the intensity of light coming from the outdoor daytime projector.
Adjusting the brightness is as easy as changing the sound volume because, like the sound volume, it is subjective to the user’s preference. The only two options are to decrease or increase the intensity level to get the right contrast.
In the simplest terms, there is no manual for adjusting the brightness. Every user has a different preferred intensity level. Although for optimal daytime outdoor viewing, we recommend a high brightness of about two-thirds or more of the total intensity level.
Take note that there is only so much the brightness control can do for you if your outdoor daytime projector doesn’t have a minimum of 60 foot-lamberts (recommended for optimal daytime viewing).
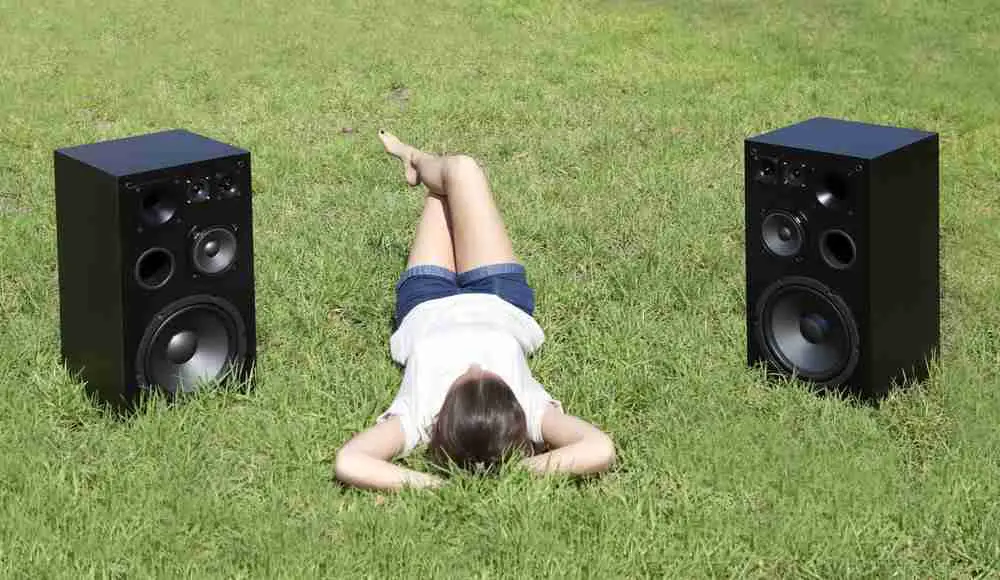
4. Additional Sound Source
Even if your outdoor daytime projector comes with inbuilt speakers, you need at least one external speaker to have a great outdoor viewing experience.
The inbuilt speakers might not be loud enough for the outdoor space, so the sound will come out tinny when outdoors. Worse, the sound could get lost in the ambient chatter of your guests. For these reasons, an external speaker is preferred.
The main factor to consider when picking the right additional sound source is how easily you can connect the speaker to either your media playing device or your outdoor daytime projector.
The media playing device could be your laptop, and, in this case, a Bluetooth speaker would be a good enough sound source.
Simple and efficient, right? If you are interested in knowing about the best Bluetooth speakers for outdoor movies, here’s a detailed guide to tell you more.
Conclusion
Notwithstanding the kind of outdoor daytime projector you use, the tips above get you the best possible viewing experience from your outdoor home cinema. Yes, even on the brightest summer days.
That said, know that your outdoor viewing experience is only as good as the console you have, so get the best projector possible, especially if you plan to use it with an outdoor movie screen when there’s a lot of ambient light. You can also read how to choose the right outdoor movie projector if you are interested in getting one.


