If you have decided that you want to start watching movies outdoors, then you’ve probably already seen a huge amount of different options to project the movie onto.
Some are free, some cost money, some are portable, and some are more recommended than others.
For example, you could make your own outdoor movie screen. Or you might wish to buy one, with the options being an inflatable screen or standing ones (see my recommendations here).
Some people will even hang up a bedsheet in their backyard. I personally don’t recommend the bedsheet method for anyone, and you can find out why here.
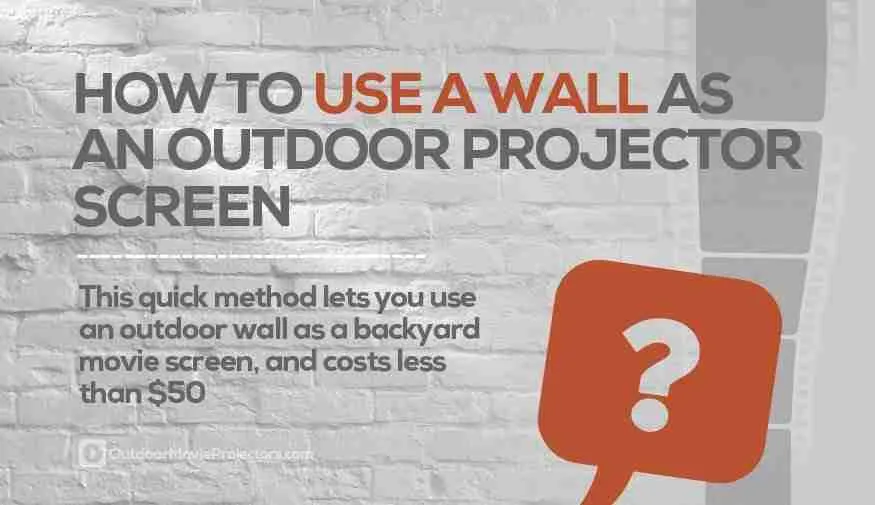
Using an Outdoor Wall as a Projector Screen
But there is another option available, which is to use an outdoor wall. This is a permanent solution as it will involve painting the wall, so I only suggest you do so if you are happy to proceed on this basis.
Once you buy all the materials, it should cost less than $50 for the paints needed. The only exception to this would be if your wall needs to be treated to make it smooth.
The wall you are going to be projecting your movie onto outdoors needs to be as smooth as possible. If the wall is brickwork, then I would advise that you render it so it’s smooth to the touch.
Any undulations, cracks, patches, bumps, marks, or holes need to be gone.
This is why this method is notoriously hard to do, and most people will give up at this point as it’s far too much work to actually undertake – especially given how cheap portable movie projector screens can be.
If you are still convinced that this is what you want to do then read on to see the steps you can take in using a wall as an outdoor projector screen.
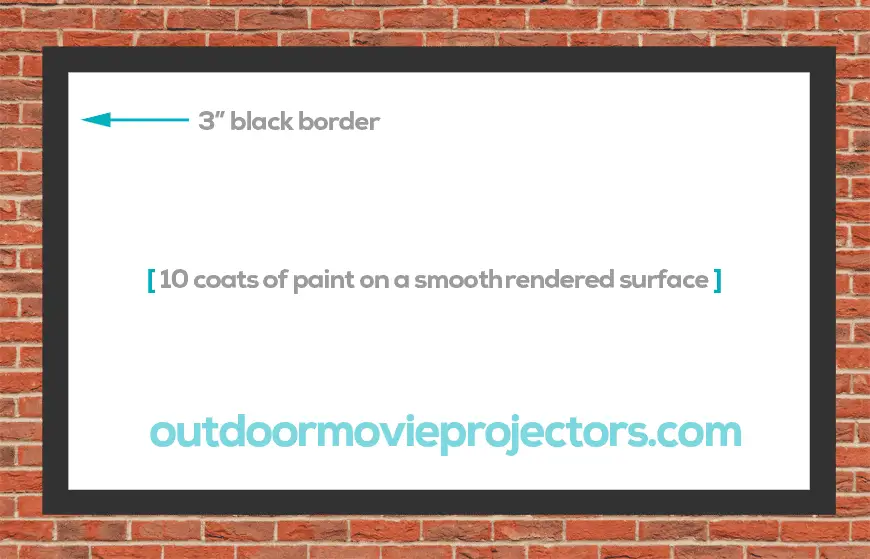 How your exterior wall outdoor projector screen should look once complete.
Step 1: Mark Out the Screen Size on the Wall
The first thing to do is to set up the projector in your backyard at night and turn on a test pattern if it has one.
If your projector doesn’t have a test pattern, then put a movie on as you need to see where the edges of the picture are going to align. Make sure that the movie is at the best resolution, focus, and aspect ratio – and completely lined up (perhaps use a spirit level).
Take a roll of masking tape and mask around the edges so you know exactly where the picture is going to hit on the wall as this is going to be the area that needs preparing.
Once the area is taped off, turn off your projector and you are going to need to make the wall really flat and smooth – typically this will be done by rendering and plastering it – and I am not going to go into that process, you can find DIY websites which will take you through this task.
Step 2: Coat with 10 Applications of Very Thick Paint
Once you have your smooth wall, you will need to apply 10 coats of the thickest exterior paint that you can buy.
Don’t paint it on with a brush, use a roller as this will ensure that the applications are as smooth as possible for the movie-watching experience.
If you are using a DLP projector then I advise using bright white paint. If you are using an LCD projector then I recommend you use a silver screen color.
Step 3: Add the Black Borders Around the Screen Area
To make the outdoor movie screen on your wall actually look like a contained screen, I next advise that you create a three-inch border around the prepared screen area.
This bordering will make the entire wall screen actually look like a screen, rather than just looking like a smooth wall.
And that’s it!
Simple, to do, as long as you have a very smooth wall!
Want an Easier Option?
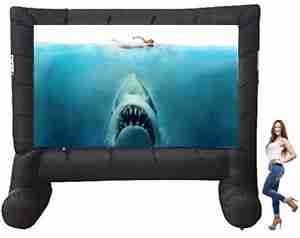 If you don’t want the hassle of smoothing and painting a wall permanently, then I do recommend you buy an outdoor movie screen that is both portable, and fit for purpose. I recently reviewed an excellent product which is an inflatable model.
It costs less than $150 and can be used time and time again. Read the inflatable movie screen review here to see why it’s such a popular option.


